
by Koala
[Part 3 of 3]
|
|
|
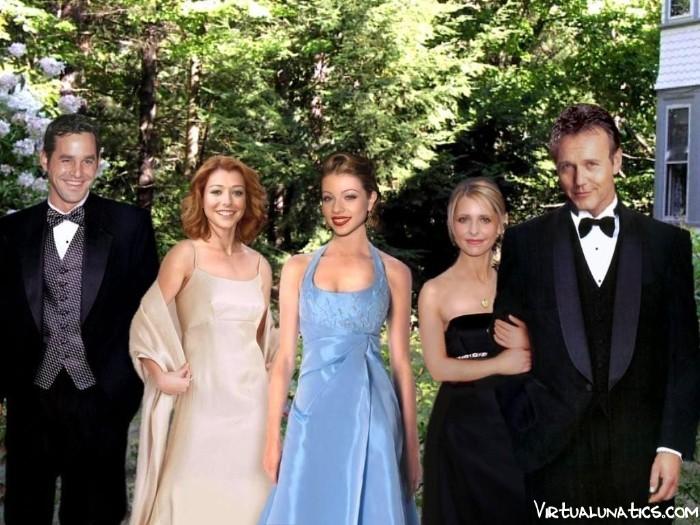
You know the only thing wrong with this photo (above)? It's that the Giles head is from a
such an instantly recognizable Giles shot. I'm sure you know the one (season 4, armchair). I originally chose to use this particular shot because of the lighting and shadows, and the good skin tones that matched the other characters. But when it was pointed out to me by my peers at VLC that this was also my fakie's fatal flaw, I decided to change it. Thus began...
|
|
|
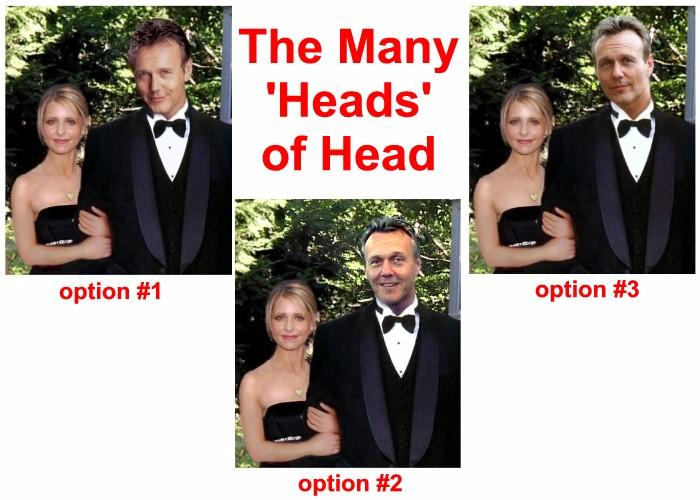
I put GF to work looking for an 'unrecognizable' shot, went through the process again and grafted new 'Giles' heads' onto the original. You can see a few of the results above. It wasn't just a matter of using a Giles photo we liked, because it had to match in with the other characters, particularly with the shadowing and skin tones if it was going to look even halfway believable. There were a lot of photos come my way, but few fit my requirements.
|
|
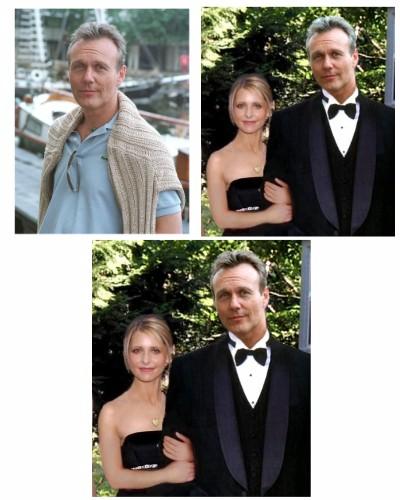
Eventually, I got hold of the promo shot from "Manchild" (seen right) and I felt I could work with that. Or at least, give it a try.
There is a touch more shadowing on this shot than I would have liked, but the major problem was that since this photo was taken out in the sun, Tony's hair looked almost gray. You can see that more clearly from my first attempt to use it (right) in the prom photo,
where it was especally noticable after I adjusted the skin tones to match the rest of the photo. But I couldn't change the tint of his hair without changing the tint of his face.
Solution: I simply dyed Giles' hair! To do this, I made a cutout of only his hair, then used the brightness, contrast and tint controls to adjust it to my liking. It worked.
Now I was done. Right?
|
|
|
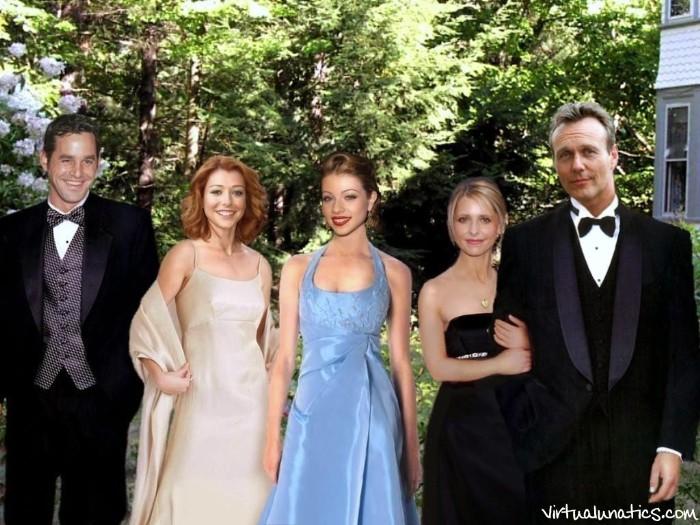
Right! I turned a larger version of the above fakie over to VLC, where my good friend and fellow faker, WickedFox, made it into
a spectacular Scooby
wallpaper!
And that, people, is how to make a fakie photo, Koala-style! Now, if I can just learn to use "Photoshop"...
|
|
